QUIC, a modern transport protocol designed with performance and security in mind,
is an ideal choice for Remote Procedure Calls (RPCs). However, developing
.NET applications that harness the power of QUIC can be challenging due to
.NET's limited support for QUIC across platforms. For example, the .NET QUIC
implementation requires the libmsquic library on Linux and does not
support Windows 10 or macOS as of this writing. As such, one of the most
effective ways to dive into QUIC-based application development is by
leveraging development containers.
A development container (or dev container for short) allows you to use a container as a full-featured development environment. It can be used to run an application, to separate tools, libraries, or runtimes needed for working with a codebase, and to aid in continuous integration and testing.
https://containers.dev
These containers enable you to create a portable, consistent development environment - solving the platform-specific challenges associated with QUIC development for .NET and ensuring that all developers on a team are using the same tools and libraries.
This guide will walk you through setting up a dev container specifically for developing a .NET application that uses QUIC and then illustrate how easy it is to use this container to run a simple QUIC server and client. However, the overall concepts involving development containers can be applied to any application!
Pre-requisites
Docker
Docker is a tool for building and sharing containerized applications. The best way to get started with Docker is by installing Docker Desktop on your machine.
Once you have installed Docker Desktop, launch it and ensure that it's running. You can verify that Docker is installed correctly and that the Docker daemon is running by executing the following command in your terminal:
docker info
Visual Studio Code
While you can use any editor that supports dev containers, this guide will assume you are using Visual Studio Code (VS Code). As such, make sure you have VS Code downloaded and the Dev Containers extension installed:
1. Create .devcontainer directory
Now that we have Docker installed and running, we can start configuring our development environment. Create a new directory or navigate to an existing project where you want to set up the development container.
Navigate to your project and create a top-level directory where you'll store your development environment configuration files and code.
mkdir .devcontainercd .devcontainer
2. Create devcontainer.json
Create a devcontainer.json file within the .devcontainer folder. This file
will define the configuration of your development environment. While you can use
the devcontainer.json file to specify a wide range of settings, we'll just
instruct it to use the Dockerfile we'll create in the next step and specify
some run arguments. Additional configuration options can be found in the
Dev Container specification.
{"name": "QUIC Development Container","build": {"dockerfile": "Dockerfile"}}
What does this devcontainer.json do?
- The
nameproperty specifies the name of the development container. This name is displayed in the VS Code status bar when the development container is active. - The
buildproperty specifies the path to the Dockerfile that will be used to build the development container. In this case, the Dockerfile is located in the same directory as thedevcontainer.jsonfile and is namedDockerfile.
3. Create Dockerfile
Next, we create a Dockerfile in the .devcontainer folder. This file
contains the instructions for building your Docker image, which is the
foundation of your development container.
FROM mcr.microsoft.com/devcontainers/dotnet:8.0-jammy# Install libmsquicRUN wget https://packages.microsoft.com/config/ubuntu/22.04/packages-microsoft-prod.deb -O packages-microsoft-prod.deb \&& dpkg -i packages-microsoft-prod.deb \&& rm packages-microsoft-prod.deb \&& apt-get update \&& apt install libmsquic -y
What does this Dockerfile do?
mcr.microsoft.com/devcontainers/dotnet:8.0-jammyspecifies the base image for the development container. This is a Linux image that includes the .NET SDK and runtime, as well as other tools and libraries required for .NET development.libmsquicis a package that is required by .NET QUIC on Linux platforms. You can learn more about QUIC in .NET here.
4. QUIC and Certificates
Since QUIC is a secure transport, you will need to provide certificates. For simplicity, in this guide we'll just use the certificates provided by the IceRPC dotnet new project templates in the next section. Note, these certificates are not suitable for production use and should be replaced with your own certificates when deploying your application.
5. Using the Dev Container
To use our QUIC development container, we can use the icerpc-slice-* .NET
templates as they provide a server and client that communicate over QUIC. It
also handles the SSL certificates for us, making it a great starting point for
quickly validating our development container.
dotnet new install IceRPC.Templatesdotnet new icerpc-slice-client -o ExampleClient --transport quicdotnet new icerpc-slice-server -o ExampleServer --transport quic
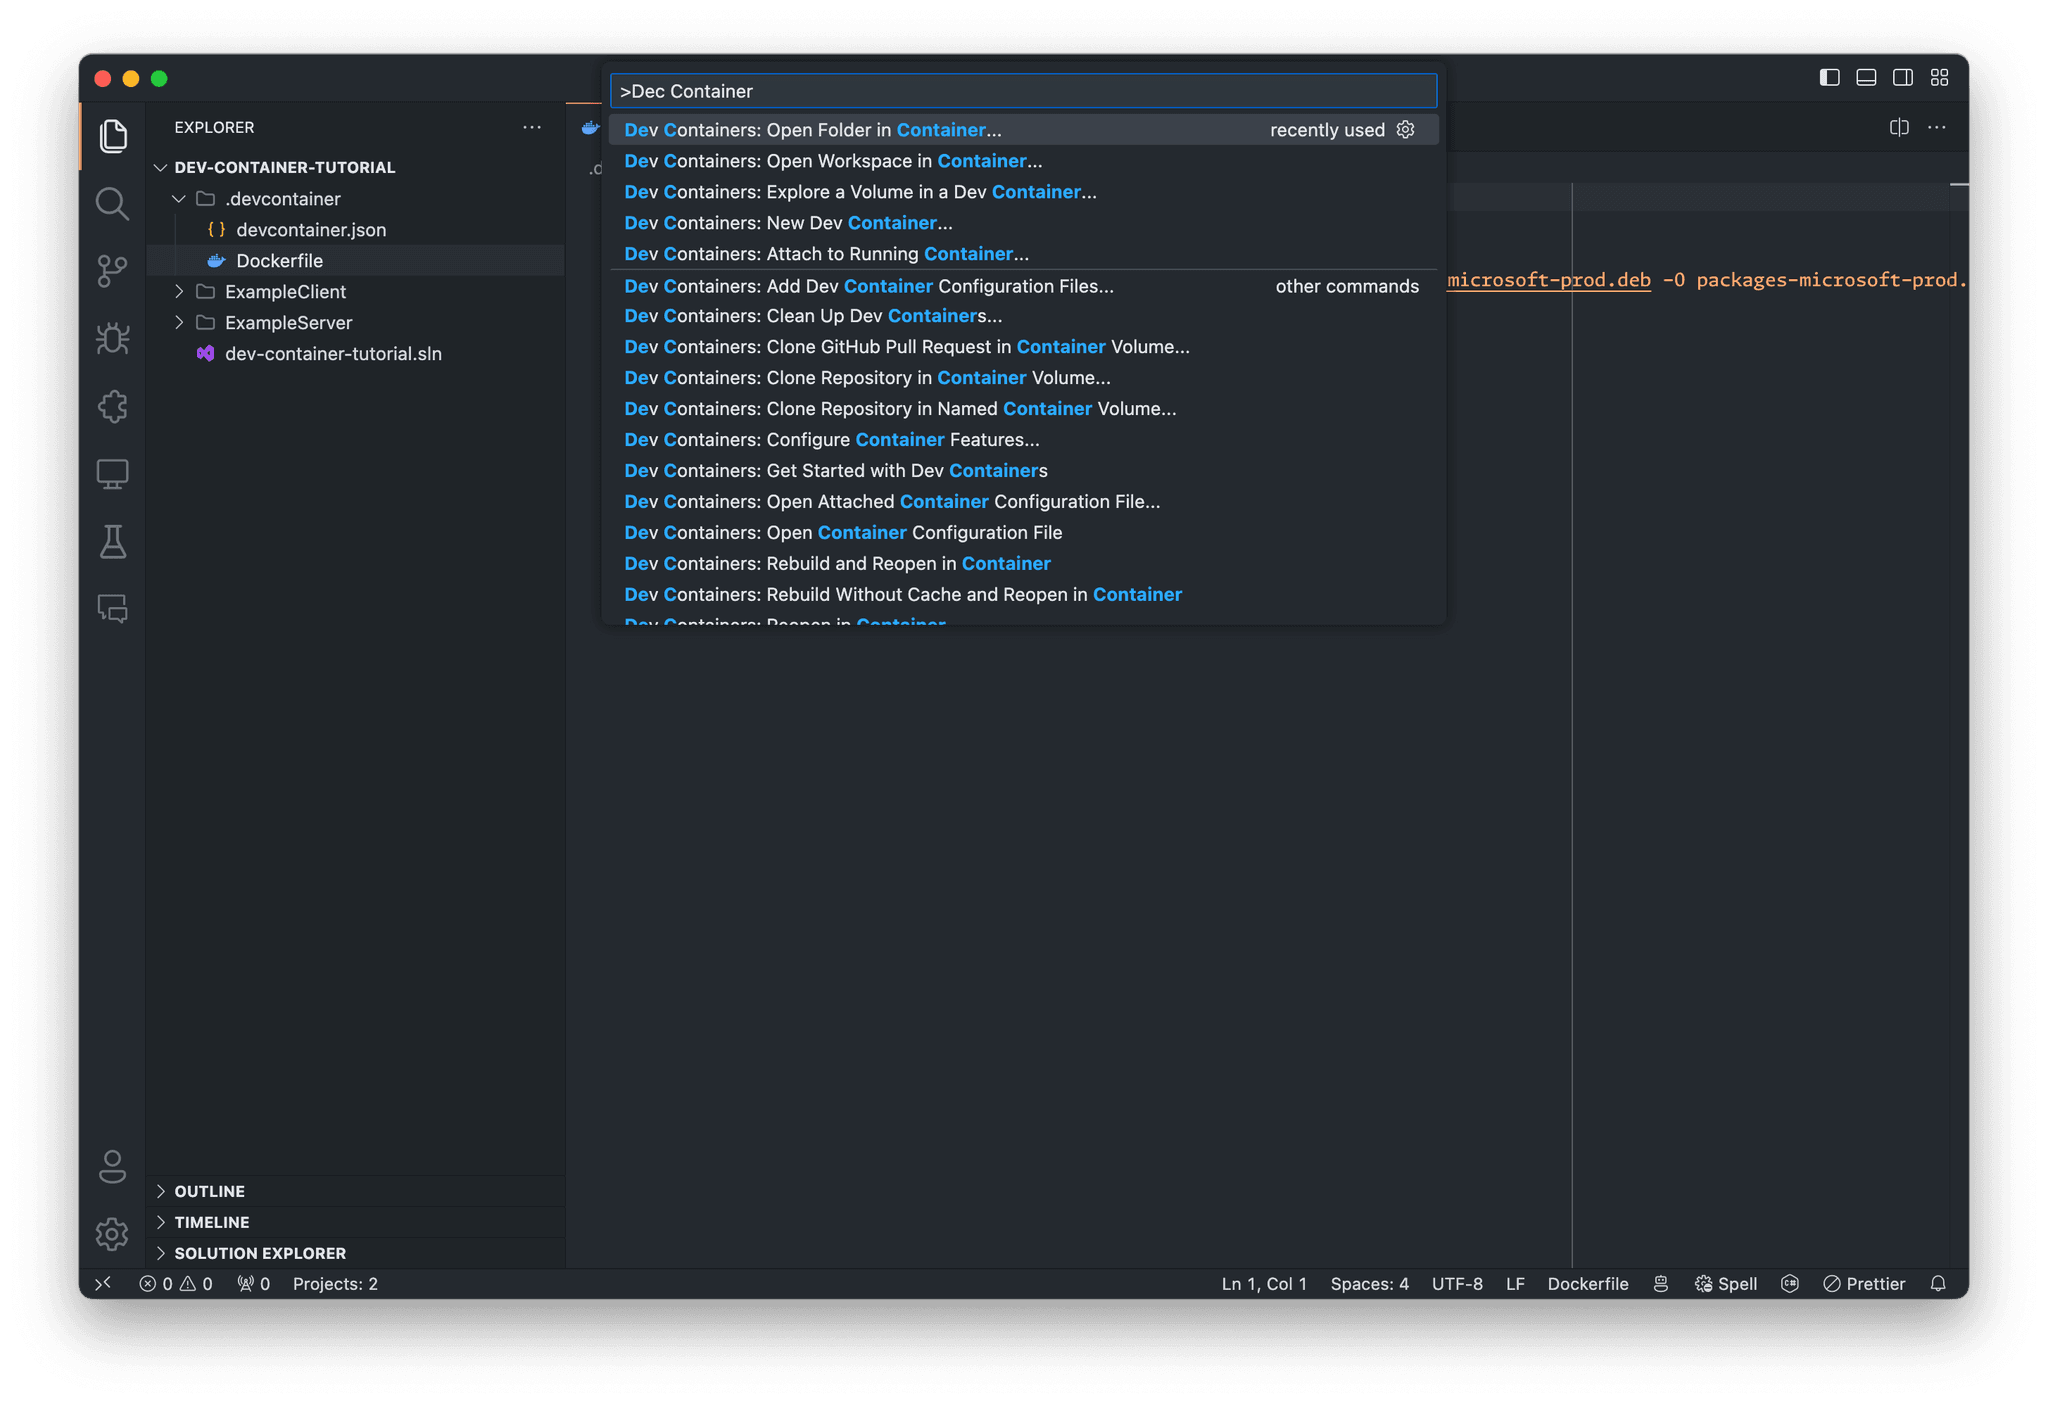
Now that we have the Server and Client created, we can open our project in
VS Code and launch the command palette with Ctrl+Shift+P or Cmd+Shift+P and
search for Dev Container: Open Folder in Container and select your root-level
project directory.
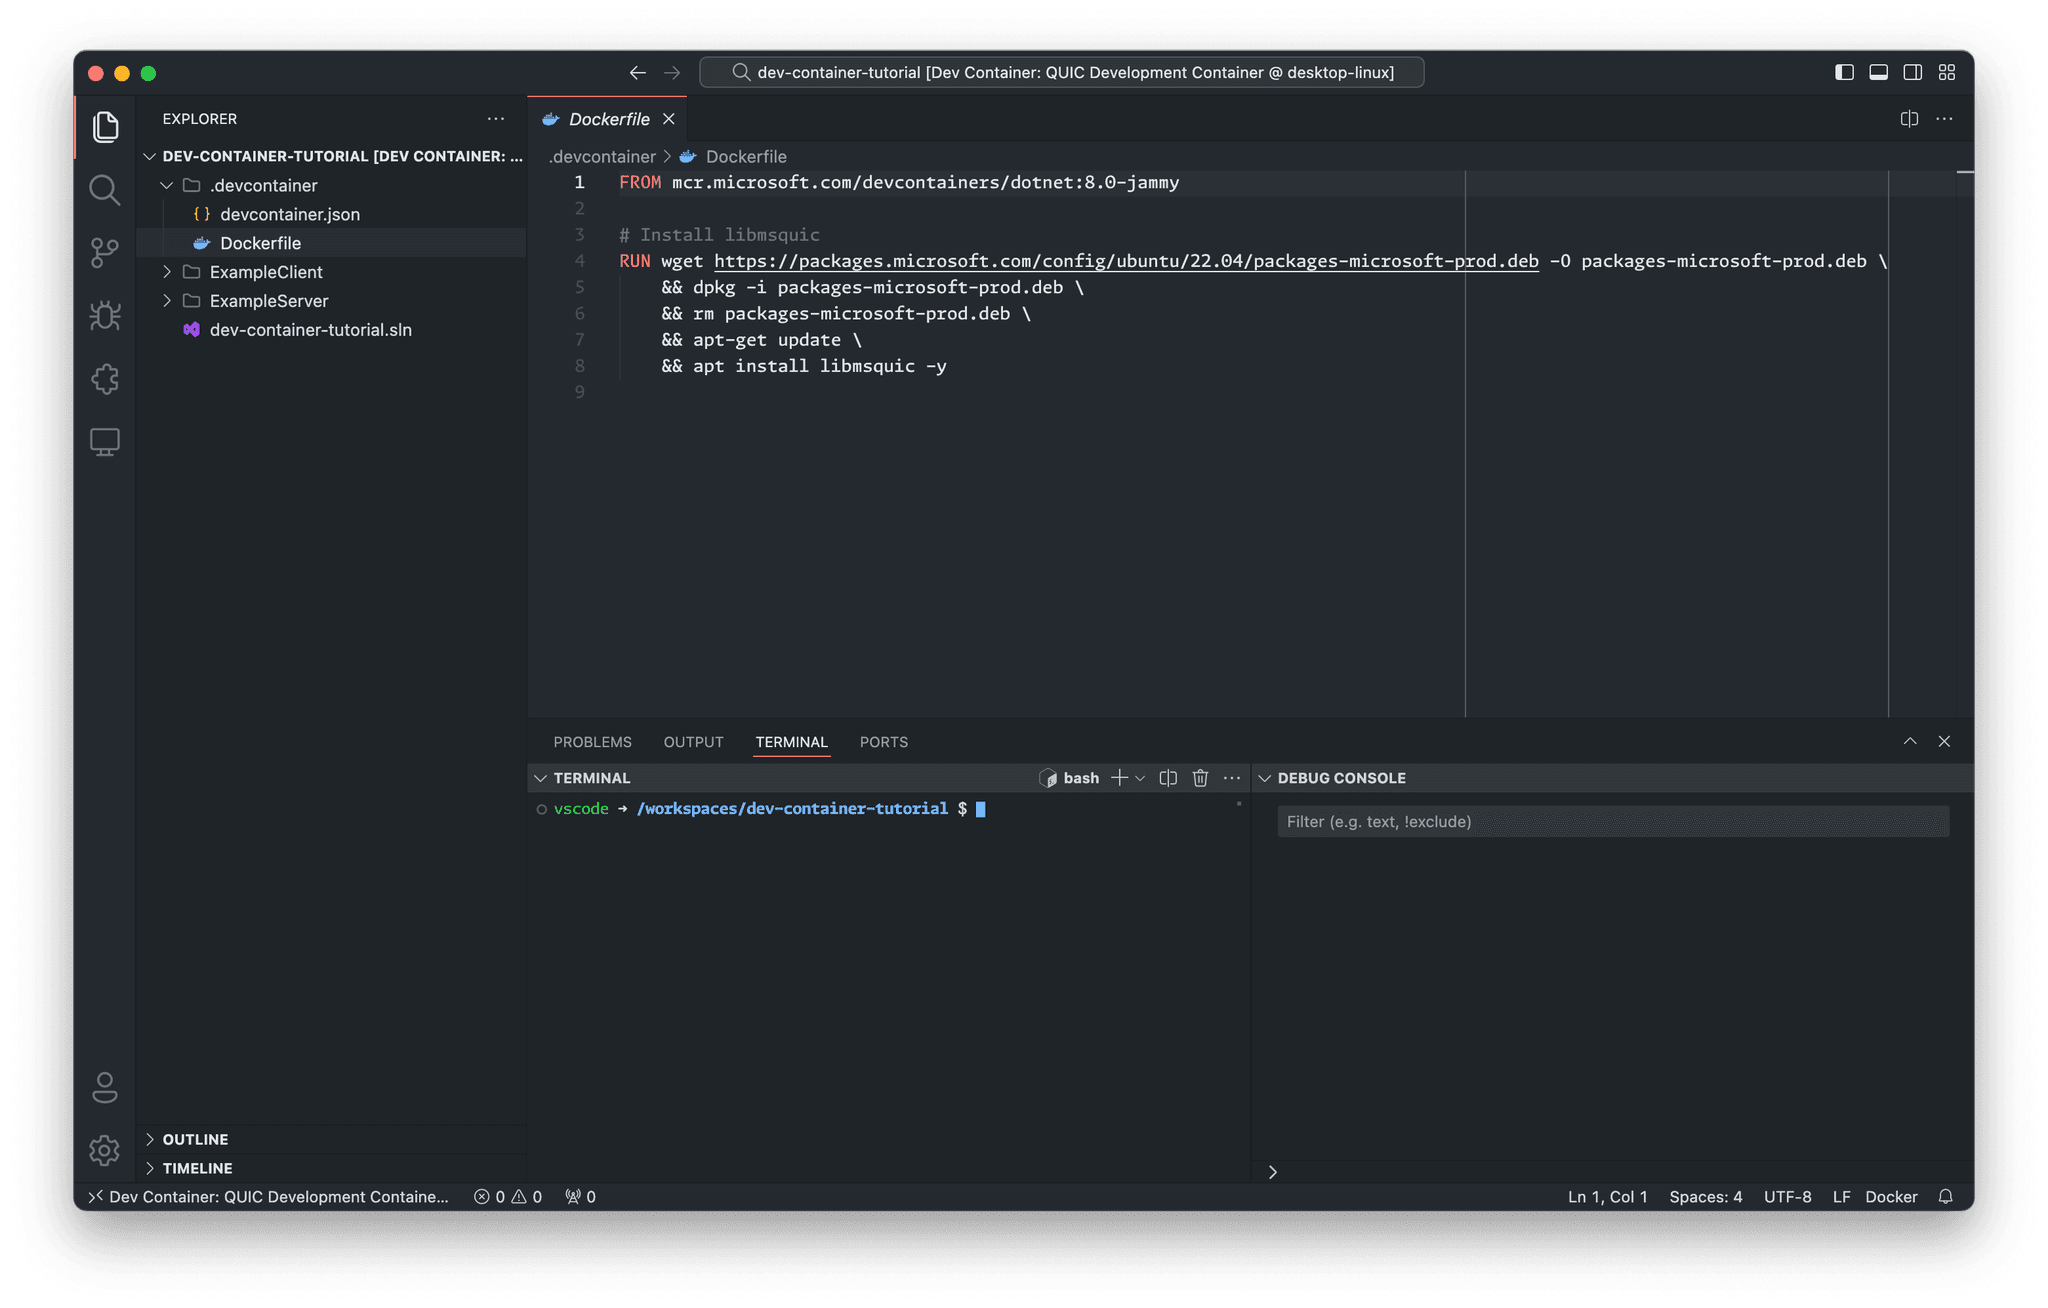
This will open a new VS Code window with your project loaded in the development container!

Now that our project is open in the development container, we can start the Server and Client. You can do this by running the Server and Client in the VS Code integrated terminal, which will now be using the development container.

For the IceRPC Client and Server this is as simple as running:
cd ExampleServerdotnet run# In a new terminal tabcd ExampleClientdotnet run
Conclusion
You should now see the Client and Server communicating over QUIC! You can now start developing your QUIC applications inside of the development container! This setup provides a consistent development environment across different machines and ensures that all developers are using the same tools and libraries.